Short Report

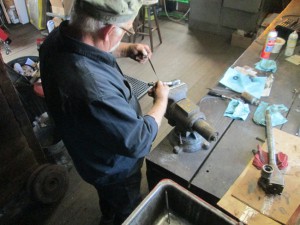
Butch cleans up a steering rocker shaft

Butch cleans up a TR3 'box

We sourced a good used steering box for the TR3 which has been absorbing Butch’s full attention over the past couple of weeks.  As you might recall from last week, the steering shaft and coupler had been ruined by some unknown hammer mechanic who at best didn’t know what he was doing, and at worst could have caused a very serious accident.

This car is receiving a full-on Revington TR suspension upgrade.  More on this next week.

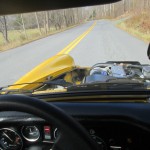
Midget 1500 road test

Midget 1500 on test

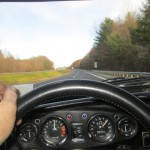
MGB road test

MGB on test

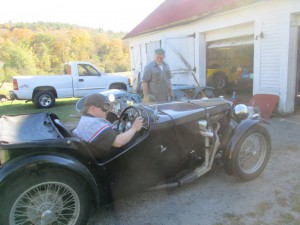
Meanwhile, the middle of this week afforded a couple of good opportunities to get our work out on the road and evaluate it.  On the left is an example of one of the few observable Sports Car Services superstitions.  We don’t put the hood back on a car which has had the engine out until we’ve driven it.  Superstition apart, it’s also an excellent way to monitor for oil or coolant leaks.  Drivability at speed was the issue with the MGB on the right.  It’s better now, but the next step is richer carb needles.

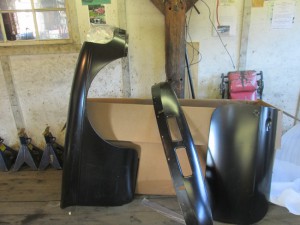
Replacement MGB sheetmetal

Replacement MGB sheetmetal

Back in September I managed to wreck Edd Lobacz’ MGB on my final road test when the left front wheel came off and went underneath the car.  Funny thing was the lug nuts were also loose on the right side of his freshly painted car, but we didn’t have the wheels off.  On Monday it’s headed into Windham Coach & Carriage in Brattleboro for repair.  I put the winning  bid in on the replacement parts, and except for a front bumper which we can’t find anywhere, it looks like everything is good to go.

Posted in This week at the shop | Comments Off on Short Report

The Game is Afoot

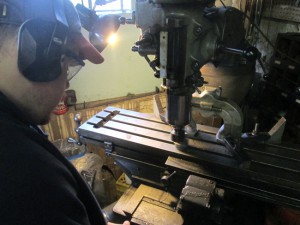
John at the Bridgeport

John at the Bridgeport

The Zenith Stromberg carburetor was the British Leyland Motor Corporation carburetor of choice for obtaining emissions compliance in the 1970’s, and when properly maintained, they worked pretty well. However these days it’s pretty rare to still see them, at least on Midgets & MGB’s, where by and large they have been replaced by Weber carburetors. The Weber is an instrument with a large tuning capability, especially in side draft configuration, and there is also a healthy aftermarket for the manufacture of manifolds to adapt them to a given engine. As for whether some of these manifolds are themselves enhancements, is open to conjecture around here. Sometimes they can turn out to be very much “trim to fit”.
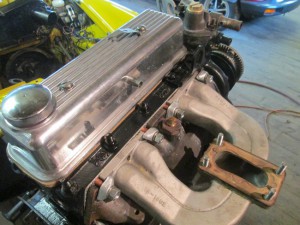
modified manifold

Intake manifold flange matched to exhaust flange

The intake manifold on the yellow Midget 1500 seen here last week is a case in point, it was about 1/16″ thicker than the exhaust manifold and when John pulled them off, the manifold studs were all bent about 15 degrees in the attempt to take up the gap. But there is a better way, and while you can make a perfectly servicable alteration with a die grinder, the more elegant approach is to machine it on the vertical mill. Unfortunately, the only tool we had which could reach underneath the downward sloping casting was the boring bar which only had contact with the flange surface for about 45 degrees of its arc, what we call an interrupted cut. Click on the 2nd picture for a closer look.
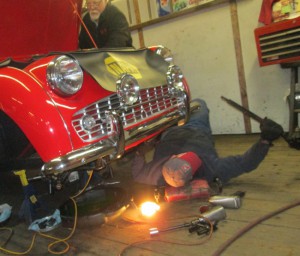
TR3 steering box

John (again) with the TR3 steering box

Actually, the main event this week has been Butch’s continuing efforts in installing a complete Revinton TR suspension kit in the red TR3 seen here. You may have heard the expression: Red paint hides a multitiude of sins. This TR3, which was shipped up from New Orleans by one of our favorite customers, was very sinful.
To pull the steering box out of most Triumphs, removal of the front nose panel is the usual first step, but we caught a break with this car because
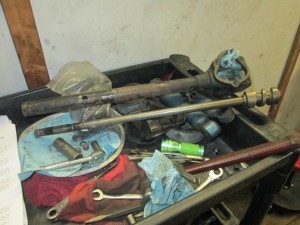
steering box

Lower steering box components

it was equipped with a steering box with what is known as a “split” steering column, whereby the upper and lower parts of the column are joined by a coupler that pinches up the splined ends of the upper and lower shafts.
Visible in the back of Butch’s work cart is the steering box, and you can see the fill hole in the column housing just over a plastic zip bag. In front of it is the column with the steering worm. Normally 90 weight gear lube is the lubricant, although this one was packed with grease
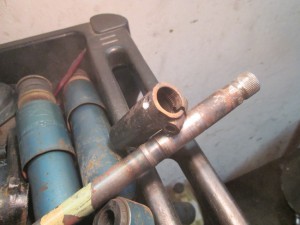
damaged steering coupler

Damaged steering coupler

instead, which wasn’t a good sign.

I mentioned previously that the coupler is splined to the upper & lower shafts and retained by pinch bolts, but Butch had the Devil’s work to separate them because sometime in the past, the lower pinchbolt had gone missing, and the steering forces on the now-relaxed lower coupling had damaged the splines.
In a truly classic example of shockingly bad judgment, instead of replacing the pinch bolt, the repairer of the moment drilled & tapped the opposite side of the coupling, threaded it and ran in a screw & broke the head off !
Click on the picture and you can see the contact area from the screw in the damaged splines on the column. How many years has this been all that stood between the driver and certain death ??

In other news, you may have noticed the appearance of a new ‘web tile’ to the right of this commentary. Wray Schelin is a panel beater of the first order, and is the go-to guy in the East for XK Jaguar metal work. These days Wray is also teaching his craft to all comers and has regular monthly classes for those interested in learning metal shaping.
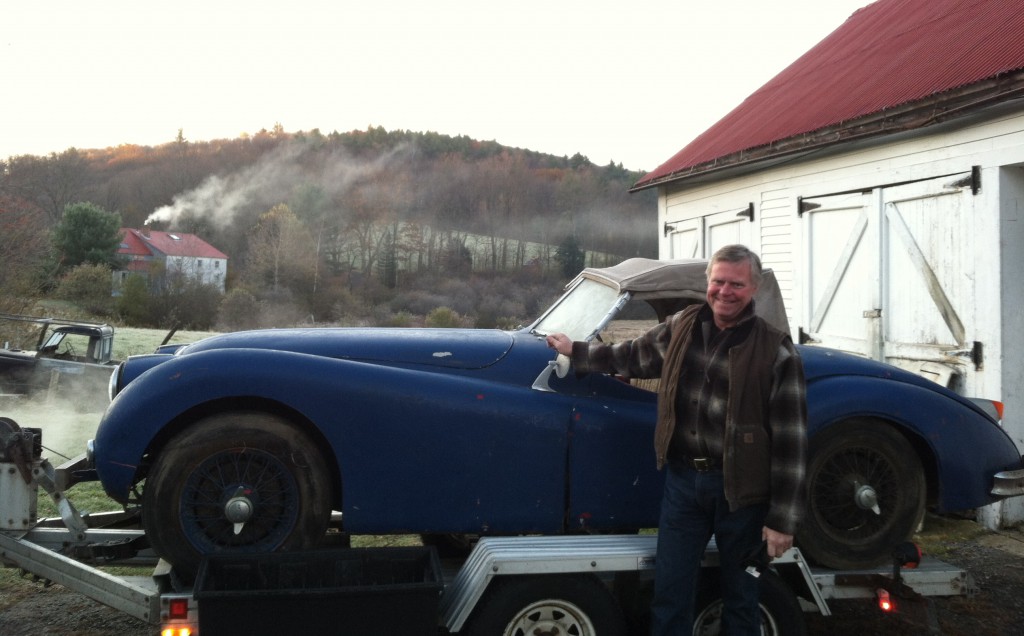
XK 140 MC roadster

The Game is Afoot: XK 140 #S811508DN heads off to Stafford Springs, Connecticut

Earlier this fall I decided that it was time to get on with it, and start putting my XK 140 MC roadster together. Although it was sold new by Pries Motors of Hayward, California late in 1955, it spent a number of years bumping into things in and around Shelburne Falls, Massachusetts before I acquired it.
While I don’t anticipate that it will be an inexpensive undertaking, I didn’t feel the need to pay someone else’s tuition to learn on the car, either.   Wray has spent many years working with these cars and has built the fixtures and the panel bucks that are necessary to accurately replace their damaged sheetmetal. I’m pumped.

Look for periodic updates as things move along.

Posted in This week at the shop | Comments Off on The Game is Afoot

More Tales from The Engine Room

Morgan +4

John runs the Morgan into the lower shop, while Butch looks on

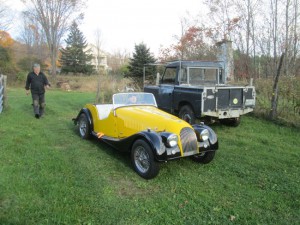
Butch finished up with the Morgan +4 on Wednesday, pending the owner’s final inspection.  What you see rolling down the hill on the south side of the shop under its own power is Butch’s last 100, or so, hours of work.  What it’s rolling past is a right hand drive diesel-powered farm implement, a.k.a. a Series 2A, or thereabouts, Land Rover.  In safey orange on the roof above the driver’s head is the admonition, “50 MPH Max.”, but that notion is comfortably out of reach for us.  Mostly this truck just trundles back & forth to the 20 acre wood beyond the upper pasture at a very small fraction of that speed.

Jaguar piston installation

New pistons for a Jaguar 4.2 engine

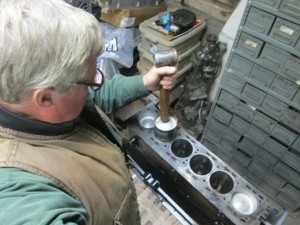
I’m at work on an E-type 4.2 engine, and, in the accompanying picture, can be seen knocking a new piston down #5 cylinder bore.  Jaguar six cylinder engines being numbered from back to front.  These pistons are Polish-made Nurals and have an AE logo inside them.  They were supplied with Goetze piston rings, although we prefer Hastings.  All four companies just mentioned are part of Federal Mogul now, and we silently thank them  almost every day for keeping the supply lines open with quality non-Asian engine parts.  We’re even thankful occasionally for that stuff, too.  Some of it gets better over time.

Midget 1500 engine

Butch & John establish Midget 1500 cam timing

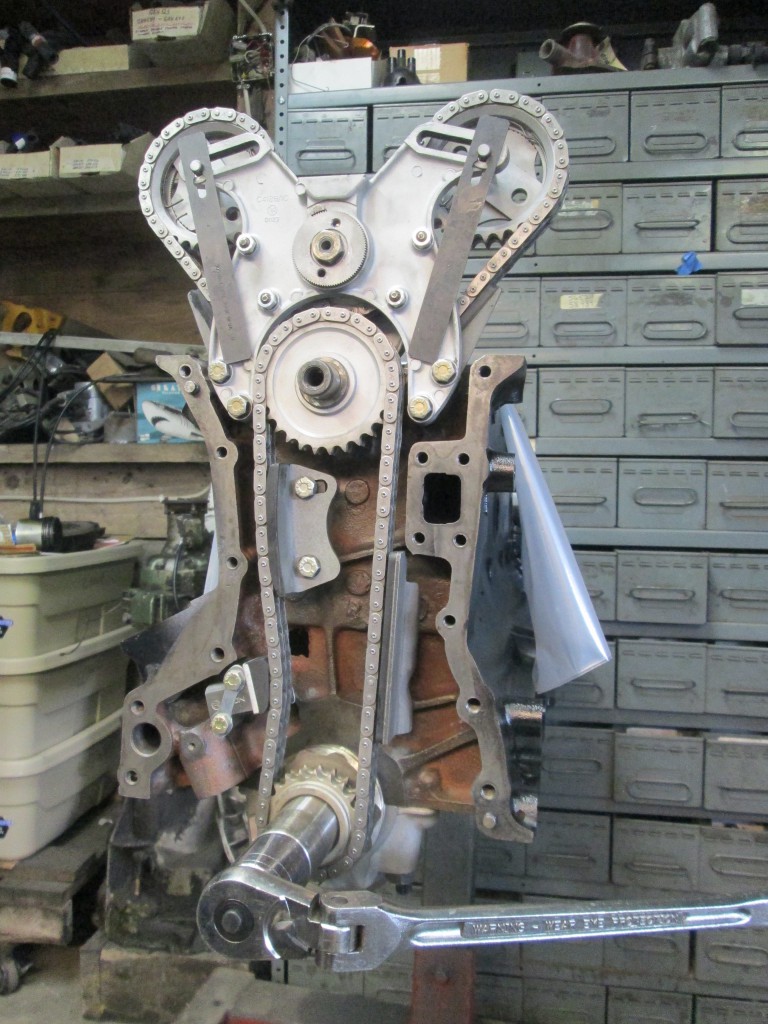
Work continues apace on the 1500 Midget seen on these pages recently.  The owner asked us to take the leaks out and replace the timing chain, an easy job since the engine was already out for a clutch replacement.  But we’re going him one better by installing the vastly stronger TR6 double roller chain and sprockets.

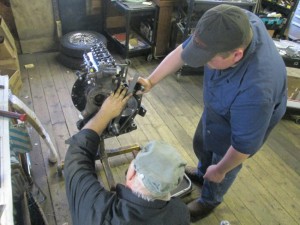
Because these are new chain wheels, it was necessary to re-time the camshaft, which is what Butch & John are up to in this picture.  There are four possible timing combinations with these sprockets and John eventually kicked the advance forward by a few degrees.

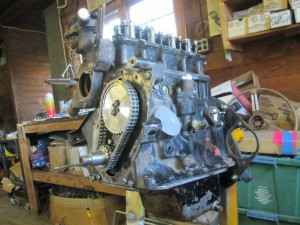
duplex sprockets & chain in a 1500 engine

Duplex sprockets & chain in a 1500 engine

These are nice steel sprockets which should keep the timing accurate for at least the life of the engine.  Later in the day John dropped the oil pan to get access to the aluminum bridge piece below the front main bearing.  Like a lot of Triumph engines the oil pan hold down threads were stripped out of it, which encourages leaks from the front of the engine.  We’ll Heli-coil them in place, slap on a coat of fresh paint &  the new clutch and back in it goes.

The 1500 Triumph engines are generally tough little buggers, although somewhat prone to thrust problems, but Jaguar six cylinder engines are close to bullet proof.  The valve train architecture is a truly elegant design inside a truly elegant power plant.  Here’s a look inside:

Jaguar 4.2 engine

Jaguar 4.2 valve train architecture

Posted in This week at the shop | Comments Off on More Tales from The Engine Room

Tales of The Engine Room

John prepares for a road test

Goggles not really optional

While not strictly a picture from this week, it’s actually around October 1st, it is a pretty accurate snapshot of how things usually are.  John is about to run off a couple of (very) quick miles in this Shorrock supercharged MG TC.  Both he and I possess a proper set of racing goggles because every so often you need ’em.  The Brooklands Racing ‘Screens might look the part, but they’re really not.

Directly behind Butch is the just-tested Austin Healey BN7 two seater, and behind him in the shop is a glimpse of Morgan.

Setting Jaguar valve clearances

Setting Jaguar valve clearances

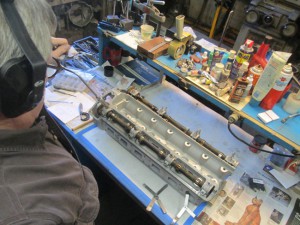
Chris and I have been downstairs thrashing with Jaguars.  He’s just about the twist the key and run up the XJ6 which suffered a piston failure caused by a valve failure.  Meanwhile, your scribe set the valve lash on a Series 1.5 E-type cylinder head on the bench yesterday, the rest of the engine (not seen) is on the stand behind him.  When setting Jaguar valve clearances it’s important to do one side at a time, intake first, then exhaust, or vice-versa.

Close examination will reveal that all of the intake cam bearing caps are completely loose.  This is to prevent a potential collision between fully open intake & exhaust valves.  It’s a hemi, remember, and they need to take turns opening and closing.

Damaged Jaguar cylinder head

Before

Repaired cylinder head

After

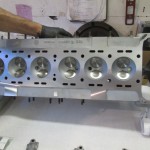
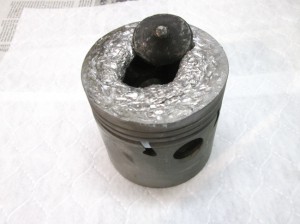
This is the before and after of the XJ6 cylinder head.  There was a mighty collision between #2 piston and its exhaust valve.  The exhaust valve stems were heavily carboned up, probably due to excessive valve to guide clearance, and that, we believe, hung the valve open long enough for the piston to hit it.

Broken piston with valve

The piston with its assailant

The cylinder head on the left, and the cylinder head on the right are in fact the same cylinder head, but how we pulled that off is a proprietary secret.  Suffice it to say we have very deep resources and we’re good at this stuff.

And although it isn’t obvious, it’s also a  2nd hand set of valves.

This is the aftermath.  What we have here are a couple of expensive paperweights.

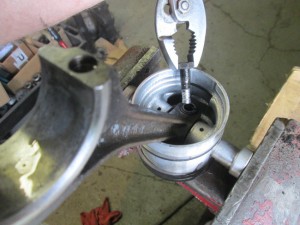
A wrist pin clamp bolt with the threads stripped

The failure that didn't happen

Today’s final exhibit is an engine failure that didn’t happen.  This is an MGA wrist pin bolt with the threads stripped by bad assembly work.  The small end of the connecting rod is slotted, and the bolt, which locates thru a relief on the wrist pin, draws the slot closed around the pin.  We ALWAYS start these by hand, but this installer didn’t and ground the threads off, most likely on the edge of the relief.
More on this in a few weeks.

Posted in This week at the shop | Comments Off on Tales of The Engine Room