A Tale of Two Gasket Sets

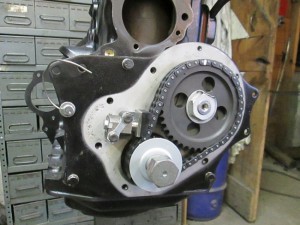
MGB timing gear

Timing chain master linked marked @ 12 o'clock position with a dab of white paint.

When I’m putting an engine together I always snap a picture of the completed timing gear assembly so that I know tab washers have been bent, the tensioner slipper has been released against the chain and that the crankshaft oil slinger is on the right way around.  This one is, but a lot of the time they aren’t, much to their detriment, it chews ’em right up !   No one should make this mistake, it has an “F” on it as in “FRONT”.

Similarly, as components such as main bearing caps and connecting rods are final torqued they get a checkmark with a Sharpie Marker and I take another picture to document this for my piece of mind as well.

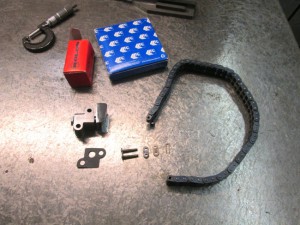
Timing chain & tensioner

Timing chain with master link & tensioner

Much of the british engine component aftermarket is now controlled by Federal Mogul, the same people who also bring you Champion Spark Plugs, and both the venerable gasket manufacturer Payen and maker of pistons, valves & bearings, AE, are part of the combine.

This is great news because it means that these components are still in good supply and they’re generally quite well made, but there are a few exceptions.

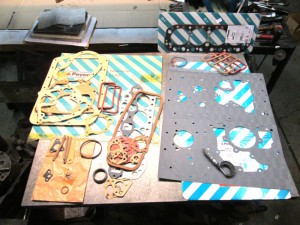
One of the more notable ones is right here because the Payen lower end (a.k.a. “conversion”) gasket sets for MGB are now made from a single sheet of gasket paper where you the craftsman now get to punch the gaskets out.

Two Payen gasket sets

N.O.S. FK669 full gasket set left, & "modern" EG411 conversion set, right

When we’re dialing in the cam timing on a new engine we like to use a timing chain with a master link as illustrated above.  It has a huge advantage for us because we can strip the chain off the sprockets to make a timing change without needing to break down our measuring gear on each trial.  This saves us time and you money.

The problem has been that the .035″ gasket sheet, while just right for pan gaskets,  far exceeds to original combined thickness of the front bearer plate & tensioner gaskets of .025″ (Remember the new combination adds up to .070″ of total thickness) with the result that the back of the master link hits the plate just visible under the tensioner slipper in the 2nd photo.

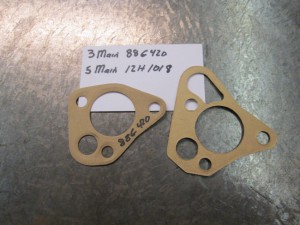
3 & 5 main oil pump gaskets

3 & 5 main bearing engine oil pump gaskets

We compensate by cuting a new .010″ tensioner gasket from bulk gasket paper.  The new, new wrinkle we’ve begun to encounter is  we’re now finding that in additon to shimming the crank sprocket for parallel alignment with the cam sprocket, we’re also shimming the cam sprocket for clearance over the camshaft thrust plate… or undercutting the plate.

A last point of commentary here is that for reasons we have never been able to fathom, the Payen 5 main bearing gasket sets have always included  a redundant 3 main bearing oil pump gasket, a situation which appears to have finally caught the attention of Qualiddy Control.  No longer do you get two, but the one you do get is the wrong one, and I can tell you from sad experience that a five main oil pump will not pump when seated on a three main oil pump gasket.

Caveat Emptor to all of you who have recently experienced, or are about to,  difficult MGB engine rebuilds.

—————————————————————————————————————————————-

The component pictures were taken on our cast iron surface table, which was hand scraped to a tolerance of plus or minus .0002″ (two ten-thousandths  of an inch) at the old Cone Blanchard Plant in Windsor, Vermont.

Posted in This week at the shop | Comments Off on A Tale of Two Gasket Sets

It’s a Wrap

Jauary road test in an E-type

January 2012: Patrick gets ready for a roadtest

It’s Thursday, December 27 and we’re getting hammered by the first significant snowfall of the season.  It’s a big enough storm that Butch and John decided that discretion was still the better part of valor… and stayed home.  Steve who made it in from Ludlow a little late says that there are plenty of out of state SUV’s, presumably with those ubiquitous “three season radials” as we call them,  off the road.  some of them quite a ways off the road.

So it seems appropriate to start off a brief recap with a Jaguar E-type, Patrick at the wheel, about to seize an opportunity to get in a roadtest on a dry road.

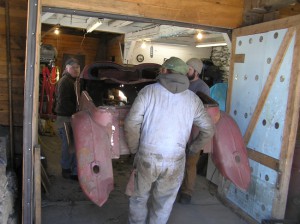
John, Steve & Patrick lift an MG TD body tub off the chassis

John, Steve & Patrick lift an MG TD body tub off the chassis

This has been a very, very busy year.  As I believe I noted, last week we managed to get two cars out, but three came in.  We are virtually at capacity with regard to our ability to store cars undercover, and as you might suppose from this picture from late winter or early spring, much of it is what we refer to as heavy repair.  This particular MG TD is undergoing a ground up restoration, and it’s one of two.  We’ve reported out recently on a series one 4.2 E-type also in process,  which is about as far apart as an E-type can get.  Last week we brought you briefly up to date with our Plus 4 Morgan restoration.  But most of our heavy repair and overhaul work stops a good deal short of restoration.

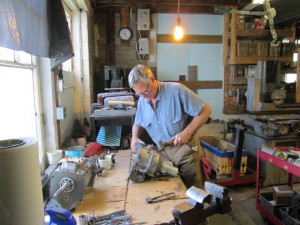
David strips an "A" type overdrive

David strips an "A" type Laycock deNormanville overdrive

We have also been busy all year in the driveline shop, mostly engines, and transmissions.  We also do some rear axle work right here.  As an example we commissioned tooling a number of years ago that allows us to accurately re-gear MG TD & TF rear axles using the more road friendly MGA ratios.

But we also use outside experts like our friend Jeff at Keene Driveline who recently re-geared an E-type Jaguar differential, including new bearings and the clutch pack, for less than some vendors want for just the ring & pinion assembly.  Oops, did I forget something ?   Jeff’s price also included the labor.  Strange to say, but we try to spend other people’s money like it was our own.

A Hemmings Motor News crew shoots video

Hemmings set up to shoot video while Steve, Butch & John look on

One of this year’s highlights ocurred right after Memorial Day when a Hemmings Motor News crew came in to shoot video.  I spent the entirety of the long weekend hoeing out the shop only to discover to my chagrin that their Florida-based video consultant had never been inside a barn before, and his attention was therefore diverted by what we regard as a strictly perepheral situation.

Of course it was a great opportunity to pick up our tools and put away parts so the effort was hardly wasted, and you can see the clip by going to the “links” page on our website.

So now the end of the year is upon us and this is our last write up of 2012.  Instead of using the off season to gear up for spring and summer, we’re still deeply involved in maintaining, repairing and rebuilding work.  That means there won’t be any art shows or wine & cheese tastings here this year, either.  But if you’d like to ring us up on the phone to talk about your car, or drop us a line via e-mail or whatever, we’d be only too glad to hear from you.

Not put away quite yet: Our close friend Carleton Palmer, just down the road a piece.

Carleton Palmer with his 1957 TR3

December 24: Local enthusiast Carleton Palmer in Putney with his 1957 TR3

Posted in This week at the shop | Comments Off on It’s a Wrap

We Pick Up & Deliver

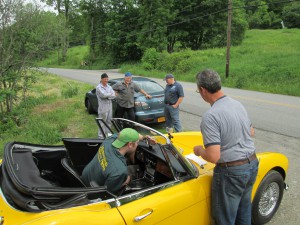
David and John Mc Cracken look over John's MGB

David goes over the repairs with John McCracken

Last Saturday was our day to scramble out in front of a sloppy little storm that dumped about two inches of sleet and snow around Westminster.  Steve had four inches of snow at his home in Ludlow, which is a little further up in the mountains.

We started promptly at 8:00 am and got done at 10:00… at night.  First stop was Shrewsbury where we returned John McCraken’s MGB to him with the overdrive repaired* and a fresh ring & valve job performed.  Your scribe can be seen here going over the work order with him.  Next up was hike up Interstate 495 to Boxford (near North Andover, Massachusetts) to bring back an MG TD for sorting which was purchased over the summer at the Owl’s Head Auction.

Butch fettles an MG TF

Butch fettles an MG TF 1500

We’re doing a little catch up this week.  On Monday Butch gave the Boxford TD the initial look over which we duly reported out to the owner who said “Fix it”.  Next up was a thrash with this MG TF that has lain dormant since the mid 1990’s.  We got it running over the summer and overhauled the brakes, but it developed an intermittant fuel starvation problem which we futured to a less busy time of year that really hasn’t arrived here yet.  However, the owner says “SELL !” and with that in mind, as well as a prospective buyer, ‘now’ seemed like the right time.

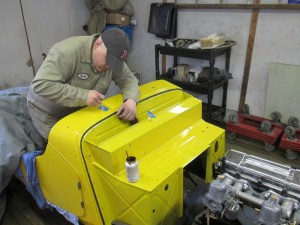
John works with the yellow Morgan +4

John gets started with this full up Morgan +4 restoration

John is behind Butch in the last picture.  He is getting started on the reassembly of this frame up Morgan +4 restoration which starts with a new frame.  He can be seen here massaging the wiper wheelbox openings in the cowl.  As you can see he already has his manifolds hung on the engine, which because it was in good order, has only received a spray can rebuild in basic black.

Once it’s a runner again we’ll be sending it back to East Coast Collision & Restoration for installation of the rest of the body work which has already been fitted and is in paint.

Steve finishes his Jaguar IRS

Steve puts the finishing touches on this E-type IRS unit

Earlier this week Steve finished up an E-type IRS which is scheduled to go back in the car later on Thursday.

Right now he’s cleaning and replacing ball joint & tie rod end boots in the front suspension in preparation for replacement of the resurfaced brake discs and hubs.  He’s overhauled or replaced all the hydraulic brake & clutch cylinders and will be installing new hydraulic hoses.

The footnote: *The overdrive circuit in John McCracken’s MGB was protected  by an in-line fuse installed  previously.  If you’d seen the wiring harnesses (Butch replaced ’em) you’d have considered it to be a very good idea.  Butch  left the fuse in, even though it wasn’t wired that way to begin with.  John e-mailed Monday to report it had blown and my spider sense says it’s the solenoid power lead.  Everything else is new.  We’ll see.

Thanks to Mary White for the first & last pictures

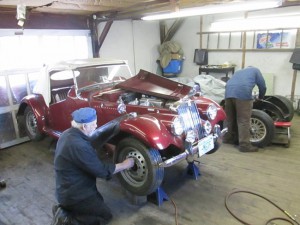
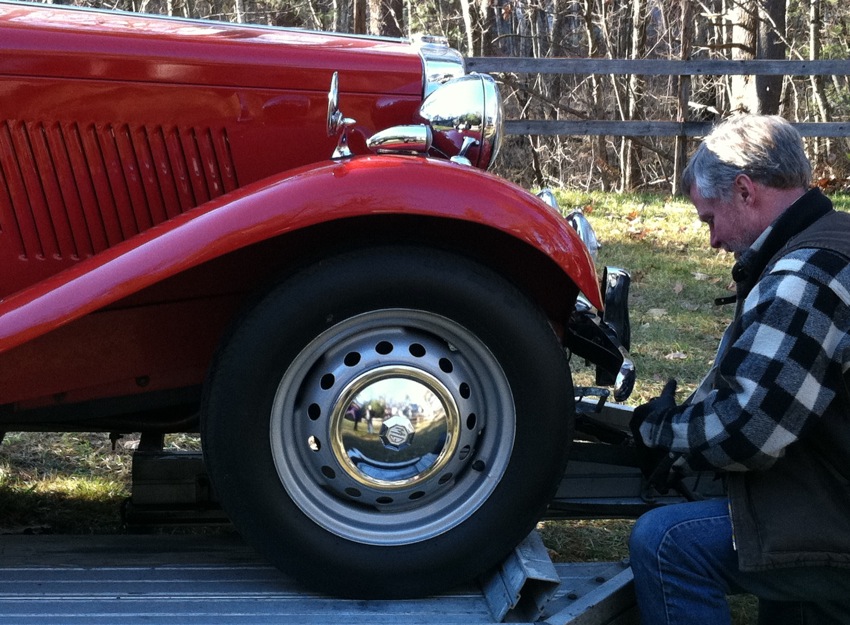
Tieing down an MG TD for transportation to our shop

Tieing down an MGTD for the trip back to Westminster, Vt

Posted in This week at the shop | Comments Off on We Pick Up & Deliver

This is How We Do It

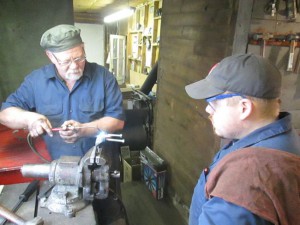
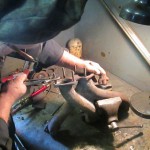
Straightening a brake caliper bracket by heating

Butch heats, John bends

Somewhere in the early history of the Jaguar Mark IX which is John’s current workpiece something got bent in the rear.  If it was a full-on collision it was masterfully straightened because none of the usual signs  like wrinkled inner panels are there to be found.

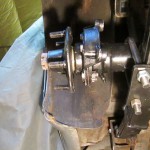
What we do know is that the left rear brake caliper mounting bracket was visibly bent, as you can see below, even if the surrounding panel work shows no evidence of it.

visibly bent L/R caliper mint bracket

Visibly bent Mark IX rear caliper mounting bracket

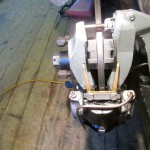
left rear caliper assembly after straightening

Left rear caliper assembly after straightening

The Mark IX is kind of a rare bird.  It’s the last of the early post-war Jaguar Saloons, updated with the 3.8 litre engine soon to power the E-type, and  highly advanced for the time disc brakes developed at Jaguar’s behest by Dunlop, the two manufacturers working closely together on the project.  On a practical basis the relative uniqueness of this arrangement means that used parts are scarce, and a quick perusal of the internet classified ads only turned up a complete rear disc brake set up, condition unknown, being peddled somewhere north of a cool thousand dollars.

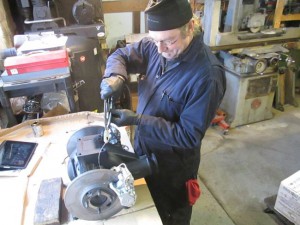
Steve lockwires E-type rear calipers

Steve lockwires E-type rear calipers

This situation tended to dictate that we were going to work with what we had to work with, but we’ve done this stuff before, so Butch heated while John bent.  Since the proof, as they say, is in the pudding, you can make your own judgement as to how it came out.

If you’re wondering about those brake calipers, they always look like that when we’re done with them, just take a look at the calipers on the Jaguar I.R.S. differential assembly Steve was working on Monday.  He’s seen here preparing to lockwire them in place.

re-studding an MGB exhaust manifold

Re-studding an MGB exhaust manifold

cam timing an MGB engine

Establishing cam timing in an MGB engine

It wasn’t  all Jaguars here this week (Thank Goodness !) because we also spent some time working with the best british sports cars ever built, the MGB’s.  You can say what you want to about that pronouncement, but I’ve spent close to 200,000 miles behind the wheel and I know.

Right now Butch is finishing up a late MGB which had a broken overdrive thrust ring which he changed.  While the driveline was out we also did a quickie ring & valve job and replaced the camshaft.  In the picture on the left you can see Butch taking the old exhaust studs out of the manifold after another application of  the heat wrench.

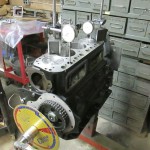
The photo on the right is from my cam timing session Tuesday into Wednesday with a performance MGB engine we’re building up.  If you click the picture you can see the JE pistons manufactured to our specifications that increase the displacement to around 1950cc’s.  What you can’t see is the APT VP 11BK camshaft which will give it a useful bump in the middle, or the APT gas-flowed, big valve cylinder head not yet installed.  This engine is, of course, fully balanced (including the clutch assembly) as well.


Posted in This week at the shop | Comments Off on This is How We Do It