Pagan Spring Rituals

flaring off stale gasoline

Flaring off stale gasoline

When we’re dealing with cars which have been off the road for a length of time, frequently measured in years or even decades, one of the first tasks is to get them running (usually off a soda bottle fuel drip feed) in order to make some snap judgments about engine condition.  Then we flush and refill the clutch & brake hydraulics and attempt a road test, commonly with a two and a half gallon jerry can in the trunk because stale gas is the bane of our existence.

In the photo above, Patrick has just emptied the contents of a series 3 E-type gas tank on the cement pad outside the shop and flared it off.  It’s resemblence to motor fuel was but a distant memory.

Repairing an MGA front hub

Repairing an MGA front hub

John has been catching up 25 years of deferred maintenance on an MGA from Charlotte, Vermont, not too far from where the Lake Champlain Ferry docks.  He is doing a complete brake overhaul, which means replacing the rear wheel cylinders and rebuilding the disc brake calipers and combined brake & clutch master cylinder, for which we use an original casting re-sleeved in brass.

All original MGA master cylinders still in service have  severely pitted cylinder bores.  Back in the day, no one thought to change the brake fluid, which then attracted large amounts of moisture, which in turn caused that damage.  The  brass sleeves won’t pit.

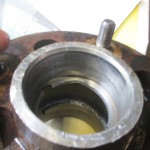
bearing shoulder damaged in hub

Bearing shoulder damaged in hub

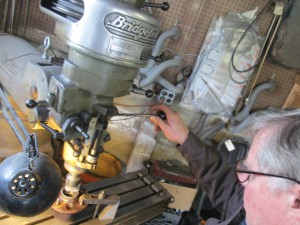
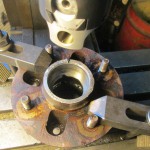
Bearing shoulder repaired on Bridgeport

Bearing shoulder repaired on Bridgeport

But I digress…  This MGA also needed new brake discs, which means R&R front hubs, which in turn means strip, clean & repack front wheel bearings.  The inner and outer bearings are located on shoulders in the hubs, and those shoulders are provided with notches which allow the bearings to be driven out with a punch.

If you click on the picture on the left to enlarge it, you can see where some hammer mechanic missed the notches completely and punched up the shoulder instead.  Regrettably, these hubs are not currently available in the Taiwan Motors catalogue, so we had to fix ’em.  The fix was to set them up on the Bridgeport and turn down the damage with the boring bar.  I took an additional .003″ cut to true everything up.  Because it was B.M.C. practice to support the inner bearing races as well, I also took .003″  off the bearing spacer cone that locates inside the hub.

Spring Dust-off

Spring Dust-off

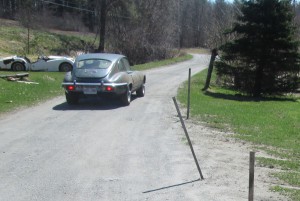
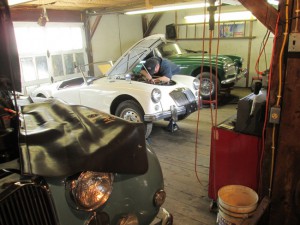
Here’s the series 3 E-type headed out for a road test with Patrick at the wheel, and a 2.5 gallon gas can in the trunk.  Take note that the rear hatch is on the safety catch and the brake lights are on.  They’re inconsequential to our road test, although they will feature prominently on our punch list.  Patrick reports lots of V12 power, even with the Borg Warner Model 12 automatic, but the severely flat spotted tires impart a Flintstones-like ride quality.  We’ll be sorting it all  out in our usual thorough and methodical manner.  With the month of May almost upon us, is there anything we should be sorting out for you ?

Posted in This week at the shop | Comments Off on Pagan Spring Rituals

Chugging Along Toward Spring

John preps an MGB for paint

John preps an MGB for paint

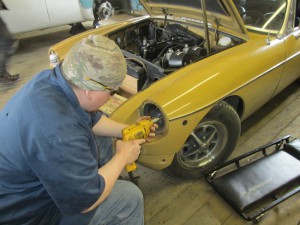
Here’s an archival photograph from March of John getting an MGB ready for the paint shop.

There are two basic types of paint jobs, a respray, where you scuff the old paint and shoot it, and a refinish, where you take the car back to bare metal, repair any damage or imperfections and have at it with your primers, paints & clears.

It is always worth bearing in mind that you get what you pay for in this life, and a bare metal refinish up to the door jambs is gonna cost you two or three times as much as the Earl Schieb job, so if you’re sending the old jalopy to  the French Cuff & Silk Cravat Auctions Llc. 1,000 car Spring Extravaganza, that’s the way to go.  Goodness knows, we’ve spent enough time with those cars post-auction to know how that works.

John fettles a non-running MGA

John fettles a non-running MGA

After sort of a dry spell we’ve got some MGA work back in the shop again.  In the photo at left John can be seen taking a close look at the carburetors on this car.  It’s actually an MGA 1600 with MGA 1500 parking lights.  There must be a story there somewhere, but we don’t know it.

The work sequence here is very routine:  Get it running and assess the drivetrain, which appears to be O.K. and then strip out the complete brake & clutch hydraulics for overhaul.  All of which is very straight forward.

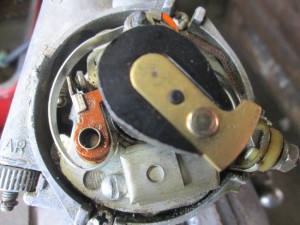
Partially missing contact on point set

Partially missing contact on point set

We think we know the reason for the previously reported poor running condition:  The left-hand contact on the point set is M.I.A. which is yet another good argument for a ‘set it and forget it’ electronic ignition.  Points ignition seems to be both the bane and the salvation of our existence.  Later Lucas distributors use a point gap of .014″-.016″, and when the gap drops below about .012″ performance starts to tail off quite dramatically.  A number of years ago I talked a customer out of an engine overhaul he didn’t need just by re-gapping his points.  We gap a new set of points at .017″ to allow for bedding-in.

A black MGA 1600 MKII  is waiting in the wings for a transmission overhaul.

Center shift Healey gearbox

Centershift Healey gearbox

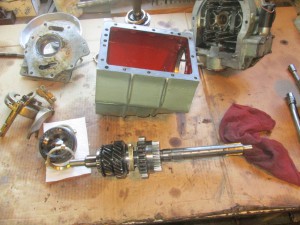
This is a center-shift gearbox out of an Austin Healey 3000 MkII.  The overdrive unit is at the top right.  The TX came out to staunch a rather large leak from the 50 year old front oil seal, but it crunched on the 3rd gear upshift, too.

This condition, which is often-times much more pronounced in 2nd, is caused by wear on the synchronizer bauking rings.  They’re the brass-guys leaning up against the 3rd/4th synchronizer assembly and sitting on the mainshaft splines between 2nd gear and the 1st gear sliding hub assy.

Their job is quite simple: As the sliding outer hub pushes them over the next gear, the internal teeth grip the cone shaped surface on the gear to either speed it up or slow it down to match the speed of the gear you’re just leaving, and that results in a crunchless shift.  You can help them out a lot if you at least double clutch your down shifts, although I’ll be the first to admit that if you’re out wheeling your Morgan or early E-type around, chances are you’re probably double clutching your upshifts, too.

Posted in This week at the shop | Comments Off on Chugging Along Toward Spring

SCS Book Review: TC’s Forever

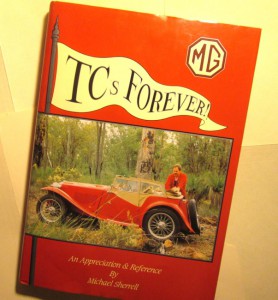
TC's Forever, by Michael Sherrill

TC's Forever

Last week we left off with an arcane reference to Michael Sherrill’s book “TC’s Forever“, and  although it’s been around for 20 years now, I couldn’t seem to pull up a useful review for you to see, so I decided that maybe I’d better write one.  Better late than never, and all that.

I’ll go out on a limb and posulate that there are essentially three milestone Post-War  british cars (four if you include the MGB, which took it all to the masses and is now known as the Mazda Miata), the TC, the XK 120 and the E-type.  TC’s are unique in this group because they were  Pre-War cars with enough shelf life left to get the MG Car Company (division of Morris Motors) out of hock and back in the sports car business.  The XK 120, which overlapped in production was a blinding flash of light, and the E-type, as memorably described by former Hemmings Sports & Exotics editor Craig Fitzgerald, was a fighter jet in a piston aircraft era.

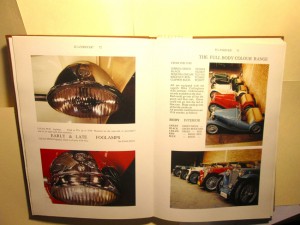
A look at the complete range of TC colors

The complete range of TC colors

The first time I took the wheel of a TC my startled reaction was ‘Oh My Gawd !  the shocks are frozen, all the suspension compliance is in the tires !’.  In fact, all TC’s are that way.   Their charm, apart from their looks,  is in learning how to handle them, no two of them handling exactly the same.

A lot like an XK 120 in 1949, Sherrill’s book was a bolt out of the blue.  In 1990 when TC’s Forever was published I’d already served my apprenticeship of sorts at Abingdon Spares and had set up shop a few years previously.  While I had an understanding of why they worked, now the book had magically appeared that explained the wherefore.

By the time the 60’s had arrived, Sherrill and his buddies in Australia had already thrashed their TC’s to the point they had to completely rebuild them, but by the the 80’s, when they’d worn them out again, they began to be interested in the authenticity of their restoration work, and this is what renders TC’s Forever as the Holy Grail.

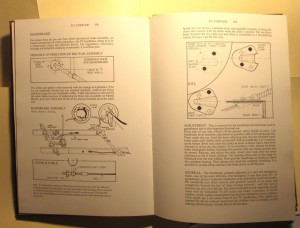
points of authenticity

Points of authenticity

There are three distinct periods of the TC beginning with an obvious early period and concluding with an obvious late period.  In between is a murky middle period which is much less well documented and is challenge to the serious restorer.  Sherrill and his cohorts seemed to have solved the end pieces of this puzzle early on, and the research into the great middle is fascinating, if you like getting deep into the weeds with this kind of stuff.  Click the picture on the left a couple of times and delve into the Pre-War, pre-hydraulic design of the TC handbrake, as elegant a mechanical device as ever there was.

While not intended as an assembly manual, it’s more a zen meditation, Sherrill has provided page after page after page of detailed mechanical drawings.  Study them for a while and head out to the next British Car Show and pick apart the TC’s.  When I told Larry Perry a couple of years ago that the TC’s we had for sale were essentially trash, it wasn’t that they wern’t shiny and didn’t drive well, they just needed new and sympathetic restorations which were not in the cards at the asking prices.

While I remain in awe of Bernard Viart’s achievement in producing his magnum opus “Jaguar XK 140 Explored” and the sequel, “XK 120 Explored” which I haven’t begun to digest yet,  they are both technical masterpieces, but they are not “TC’s Forever“.

Here’s my advice:  buy the best basket-case TC you can find, and the book, and get into your restoration zen-zone.

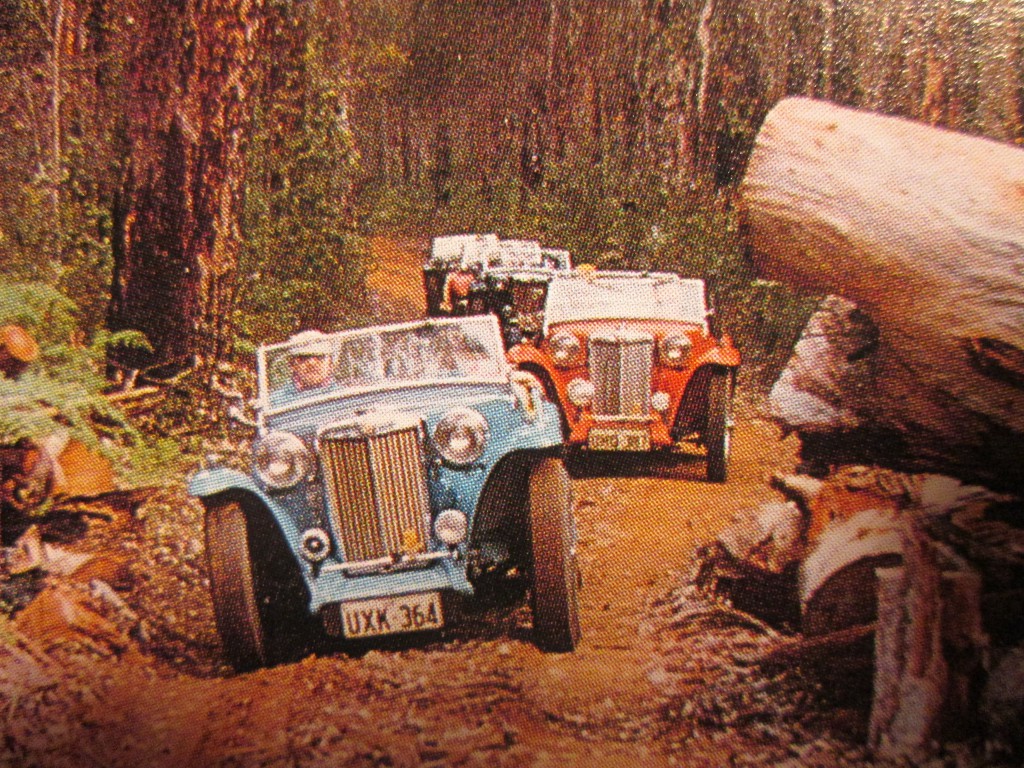
An Australian TC outing

Sunday drive in Oz, circa 1985

All illustrations from TC’s Forever; copywrite Michael Sherrill

Posted in This week at the shop | Comments Off on SCS Book Review: TC’s Forever

Every Engine Tells a Story, Don’t It ?

Jaguar 4.2 teardown

E-type 4.2 teardown

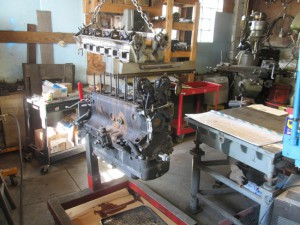
Sometimes we need to use the chain hoist  to lift the cylinder head on a DOHC Jaguar engine.  45 years of carbon build up and corrosion made it the preferred method on this one.  From what we know, it has spent most of its life sitting, not all of it under favorable storage conditions.

By the end of the week everything should be torn down and either prepped for the machine shop or boxed for cleaning and prep work.  The parts which are machine shop-bound, the crankshaft, connecting rods main bearing caps & flywheel all get washed and run thru the glassbead cabinet.  We’ve already marked the cam followers for relative position and noted the sizes of the various valve adjustment pallets, along with their  locations.  It’s a real time saver when setting up the head again during reassembly.

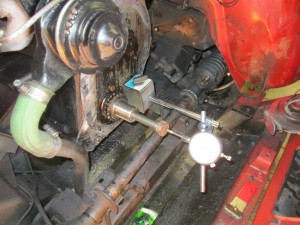
checking endfloat on a TR6 engine

Checking crankshaft endfloat on a TR6 engine.

Triumph Spitfires and TR250’s & TR6’s are notorious for excessive  crankshaft end float  and thrust washer problems.  In fact more than one TR6 has shown up here with the thrust washers in the oil pan.  We usually set the thrust clearance on MG’s & Austin Healeys within a range of about .0025″ to .004″.

On these Triumph engines the specification is .006″ to .008″.  It’s a taddy-bit wide, me thinks.

When these engines have  calved big time in the past we’ve been fortunate to be able to have the machine shop repair the damage to the crankshaft flange and rear main cap & cylinder block by welding.   Best practice, in my judgement, is to stake the  thrust washers to the bearing cap or block so they can’t start spinning around and fall out.  John measured the thrust on this engine at just under .010″.

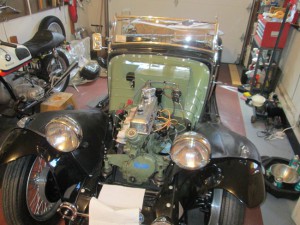
Black TC, Green Engine

Early TC

Here’s a picture taken on location in Larry Perry’s garage, which is just wide enough for his MG TC and BMW motorcycle.  It’s tough to know how many miles are on the TC, but Larry has documented over 300,000 miles on the BMW.  We’re prepping the MG for his next Shorrock supercharger.

Late in 1945 MG cleared away the armorment work from the factory floor,  laid down an assembly line and starting building sportscars again.  For reasons probably having a lot to do with the availability of materials, these early cars were painted black but their engines and bulkheads were an olive green, perhaps a War-Surplus color available on the cheap.  At some point later on bulkheads began to be painted body color and engines MG Red.

You can read more in Mike Sherrill’s exhaustively thorough book “TC’s Forever”

Butch has been assidulously working to button up the Jaguar Mk IX sedan as noted here on this page from time to time.  Just as it appeared the end was in sight on Thursday (and also the reason for the tardy appearance of this missive, I was out late chasing parts), another small wrinkle came to light in the form of a severely bent hub… Click for Video

Posted in This week at the shop | Comments Off on Every Engine Tells a Story, Don’t It ?