Another Hot Day, an Amusing Mistake

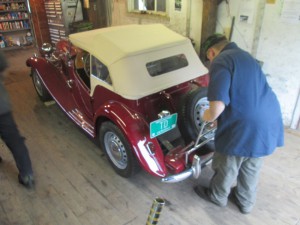
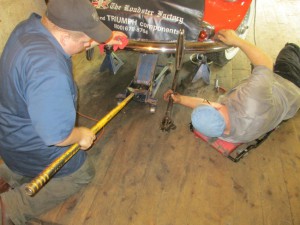
John & Butch

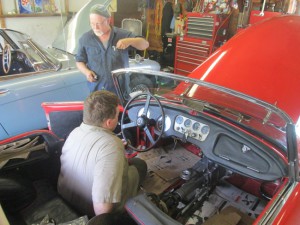
John & Butch on a hot afternoon

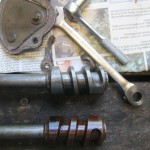
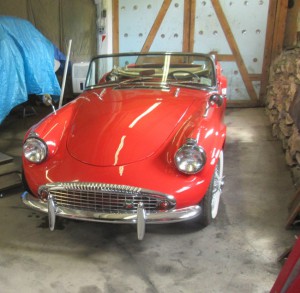
Sometimes we make mistakes, Wednesday was one of those days. Perhaps it was just an incomplete understanding of motion physics, but when we checked the operation of the Daimler SP 250 steering box, freshly rebuilt with TR3 components, we were amazed to see the wheels steered LEFT when the steering wheel was turned RIGHT, and visa-versa.  While this effect might be entirely suitable for a Shriner’s Parade, it could be kinda’ dicey in traffic.

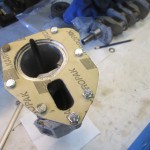
Steering gears

Steering gears, SP250, top

Upon more thorough examination, it was an obvious mistake that didn’t require a great deal of thought:  We work pretty routinely with TR3’s & Austin Healeys in which the steering box, operating through the Pitman arm on the bottom of the ‘box, is behind the center line for the front axle.  However on the SP 250 the steering box is behind the axle.  Well My Stars !   Doesn’t that just make a difference ?

So, we put the old shaft back in the new ‘box and then we took turns pushing each other around in figure 8’s on the forecourt and pronounced it good enough for road testing.  We will, of course. change the Daimler shaft out.  Butch and I differ slightly on the technique, because I think we can just slide the shaft out of the steering  box in the car.

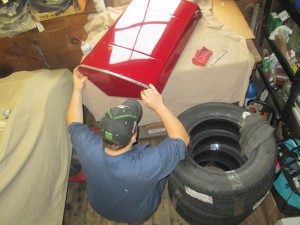
John reboots an MGB steering rack

John re-boots an MGB steering rack

It was a day for steering gears.  John is working with an early rubber bumper MGB which is a mechanically sound car with some minor fettling to take care of.  One item on the punch-list was replacing the engine mounts, which on a rubber bumper MGB necessitates removal of the steering rack for access to the clamping nut on the bottom of the L/H mount.

Because the rack boots were torn and also needed replacement, there were some synergies to this approach.

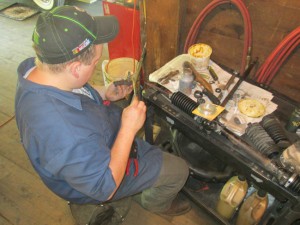
In the picture above, John can be seen packing grease into the tie rod ends, which received a re-boot, too.  Not seen here is that John  also pulled off the oval shaped cover over the steering pinion and pumped six ounces of 90 weight gear oil into  the rack to lubricate it.  Rack boots also keep the lube in.  Most MGB racks desperately need a refill now that the newest car is already about 35 years old.

Lucas semi-sealed beam

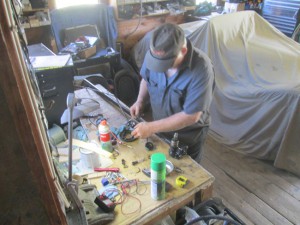
Chris repairs a Lucas semi-sealed beam

The temperature had already climbed past 90 degrees and was still rising when I sent Chris off to run some Interstate highway miles in this late Austin Healey 3000 MkIII.  The principal purpose of the test was to check the operation of the externally repaired overdrive, and to deliver a clutch to the machine shop for balancing.  It was also a test of stamina for Chris, who can now tell you what it means to be a Healey Hot Foot.

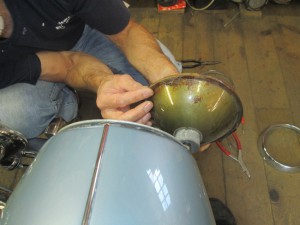
This car has what were known as Lucas semi-sealed beam lights.  Time and moisture had taken a toll on the locating lugs on the right hand headlight unit, and Chris duly repaired it with a piece of bicycle inner tube.

Making a TX gasket

Making a gearbox gasket (self-portrait)

On Monday I finished up the SP 250 gearbox.  The Daimler unit is a slight variant of the familiar TR3 one of which was a second gear donor for the SP 250, those ratios being the same.  However the Daimler maincase and tailcases are different, and while a TR3 TX gasket set had most of what we needed, I ended up making the tailcase gasket.

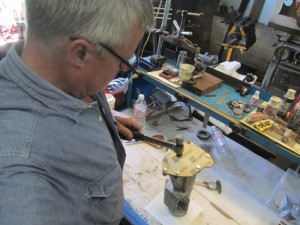
You can easily do this at home, too.  Here’s how:  #1 put the tailcase on a piece of gasket paper of appropriate thickness (see NAPA Auto Parts) and trace the outside.

A tailcase gasket

Finished tailcase gasket

#2 Using a good pair if scissors, cut out the gasket on the INSIDE of your line.  #3 Mark the location of the bolt holes.  Punch them out with the appropriate size punch.  #4  Secure  the gasket on the housing using the mounting bolts and lightly tap around any openings with the ball end of a ball peen hammer.  This will break the fibers that hold the gasket material together and , Et Voila, there your are !

Posted in This week at the shop | Comments Off on Another Hot Day, an Amusing Mistake

Smokey Yunick’s TD

MG TD with no gas tank

Wot', no gas tank ?

When we pushed this MG TD into the shop Wednesday afternoon it reminded me, for no particular reason, of one of the notorious exploits of the famous stock car mechanic Smokey Yunick, late of Daytona, Florida.  Quite apart from being the reason to this day that NASCAR uses hood & roof templates to check the shape of all competitors, one legendary Smokey Yunick incident involves a gas tank or the lack thereof.

During a particularly rigorous tech inspection, when NASCAR officials allegedly removed his gas tank for further examination, and sent him back to the track garage with a list of deficencies, he is reputed to have said “make it one more” as he started up the car and drove off, courtesy of the fuel reserve in a  2″ diameter fuel line.

MG TD gas tank

It's over heah ! John preps the tank

We are now seeing a steady procession of 40, 50 & 60 year old cars with fuel starvation problems caused by a deteriorating gas tank.  Fuel tanks tend to corrode internally over time until scale begins to obstruct the fuel pick up.  Eventually they  also develop pin holes and start to leak, which can be kind of dangerous.

In some cases the solution is a replacement tank, but in other cases it isn’t.  “T” series MG’s fall into this latter category because all of the replacement tanks we’ve seen over the last several years won’t accept the old fuel tank side covers.  So better to repair them.

Repairing the Daimler control head

Butch fettles the Daimler control head

We send them up to Rodney at B&R’s Garage in Lebanon where he cuts ’em open and cleans them out by sandblasting and replaces any metal that’s too thin, before he puts in a liquid liner that hardens to a consistency somewhere just south of bullet proof.

Like it’s Coventry-built cousin the TR3, the Daimler SP 250 uses a so-called steering wheel “control head” to switch the horns & turn signals.  This car’s control head had been badly mistreated by some particularly inept hammer mechanic who finally attempted to glue the whole thing back together with silicon sealer, but by using a few donor parts from an Austin Healey and some colorful language, Butch was able to stitch it back together again.

missing dog teeth on a Daimler constant mesh pinion shaft

Dog teeth gone missing from a constant mesh pinion shaft, right

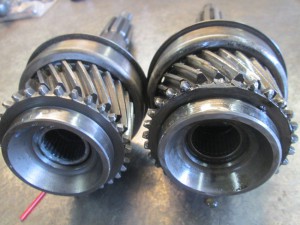
Meanwhile, downstairs I was I.S.O. some usable parts for the SP 250 transmission.  A TR3 gearbox yielded up a suitable 2nd gear set, but we were S.O.L. as far as the input shaft (a.k.a. constant mesh pinion shaft) was concerned.  It’s a longer and has a different tooth count as well.  Fortunately an out-sourced input shaft was forthcoming, value priced at only $150.00.  You can’t even make one yourself that cheap !

So we’re on the upswing with this car, and we really hope it won’t be raining next weekend so the owner can be out enjoying his car.

The sun shone, the pre-test checks were completed, and Chris got this late Austin Healey 3000 Mk III out for a road test Friday afternoon.  The mellifuous tone of the new Stebro stainless steel side exit exhaust is just magnificent, but alas, his road test was not uneventful..

Austin Healey 3000 Mk III

Chris comes back in Friday afternoon with the BJ8 after running out of gas mid-test.

Posted in This week at the shop | Comments Off on Smokey Yunick’s TD

Gear Woes Large & Small

John with a Daimler Dart transmission

John pulls away a 4 speed TX

According to the newspapers Vermont has just enjoyed the wettest two months on record in the persons of May & June.  The heat & humidity have been notable too, but so far no punches have been thrown.

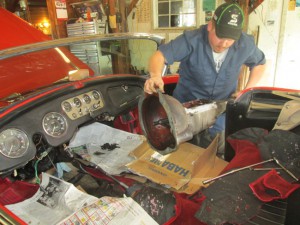
As seen here, John is clearing the transmission of a Daimler SP 250 from the car.  Not seen is Butch underneath the car, having just supplied the uplift.  They were aided somewhat in their endeavor by some judicious trimming of the fiberglass floor by a previous repairer.  This transmission wouldn’t stay in 3rd gear, resolutely spitting the shift lever back to the neutral position as soon as the hand released it.

A thrust washer, with 2nd & 3rd gears

Some wear was present

John popped the top cover off the gearbox in the car and we were amazed to see about 1/4 inch of end float on 3rd gear.  The service manual allows a maximum of .007″, so we knew something was broken.  Butch tore it down, and what he found was an even bigger shock-a-roo, because 2nd gear was

Daimler SP 250

Daimler SP 250

so badly worn on the synchronizer cone and dog teeth that it was a small miracle that it worked while 3rd gear didn’t.  Click on the picture for a better look:

When the sliding synchronizer hub slides onto the small teeth on the top of the gear (dog teeth), the gear is locked into engagement.  Because the 2nd gear dog teeth were more than half worn, it’s a small miracle that 2nd gear worked at all.

Steering box coming out

Steering box coming out

One other item of concern for us was the steering gear.  I”ve commented on this page before about the parapetetic character of the steering gear in MG TC’s and their Pre-War breathern, and it was something of a surprise to discover that this particular car was a direct comparable because on our road test we were distressed to discover it had no ‘straight ahead’ position.

It’s both a good thing and a bad thing that this is essentially a TR3 steering box mounted upside down.  The upside of it is that used parts are

The caged roller bearings had escaped

The caged bearings escaped

commonly available, the downside is that with the steering box cover on the bottom, leakage leading to a dry box is always a potential problem.  It’s also a bear to pull out.

In this case the problem of the steering wander was attributable to a previous ram & jam repair which had caused the upper  ball bearings to drop out of their  sheetmetal cage.  Butch stripped the box and never found all the the missing balls.   There’s one caged bearing assembly on the top of the steering worm and one on the bottom.  Click on this picture, too.  That’s my left hand holding the bearing cage, and Butch’s right hand waiting hopefully for the appearance of the lost bearings.

steering worm damaged by over tightening

Steering worm damaged by over tightening

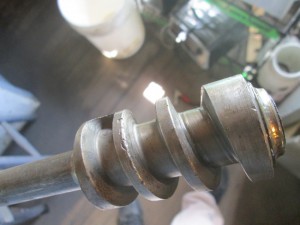
Many repairers seem to believe that the way to adjust the wander out of worm & roller steering is to tighten down the adjusting screw on top of the steering drop arm until it won’t go any further.  It isn’t, all it does is make the steering heavier and destroy the worm gear as pictured here.

A taddly-little bit of tightening shouldn’t  hurt things none, but most of that free play is the worm gear moving between the upper & lower caged bearings.  50 years ago when the steering box was new this was controlled by shims under the steerig box end cover (what the horn & turn signal wiring come out of), and it still is.

Quite remarkable improvements in steering control can be effected by the careful and judicious removal of shims.  Careful, because if you’re not, the upper caged bearing becomes dislodged producing the result pictured above, and judicious, because the removal of too many shims will bind the bearings.

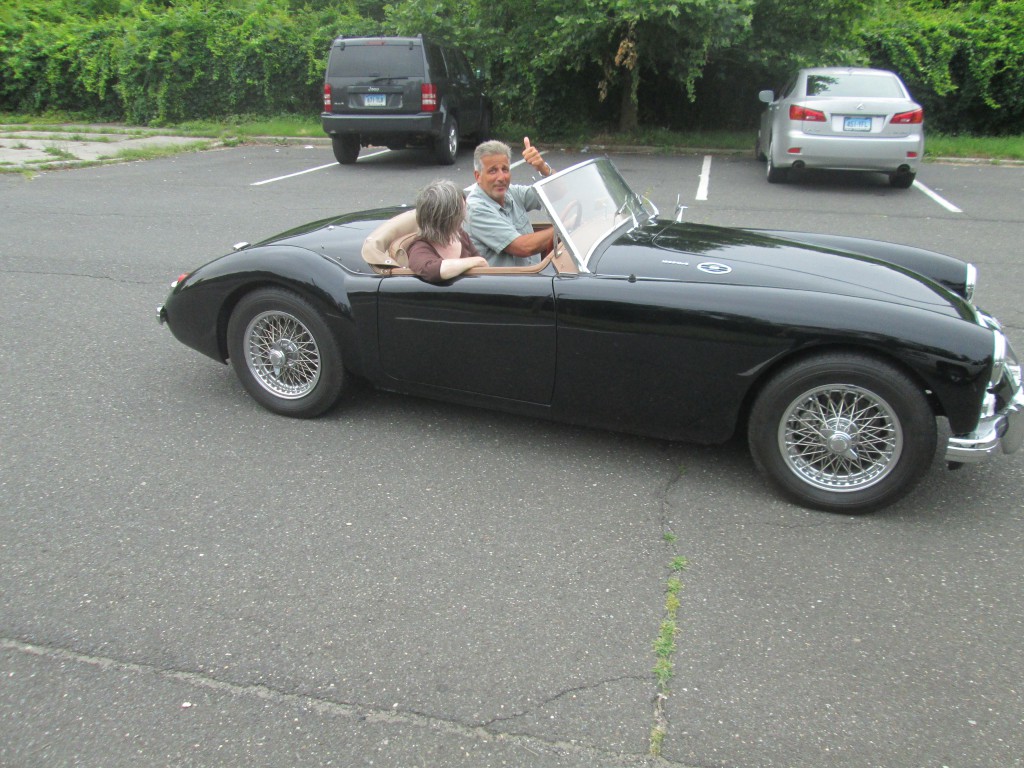
The SP 250 Daimler is here as part of a hostage exchange in Connecticut last weekend.  I asked Tony Taylor to put his MGA 1600 MkII thru its paces before we left to fetch the Daimler.  Tony’s dad bought it when it was a one year old used car in 1963.  We think we did O.K. with it.

MGA 1600 MK II

Passed the audition

Posted in This week at the shop | Comments Off on Gear Woes Large & Small

Repairs Large & Small

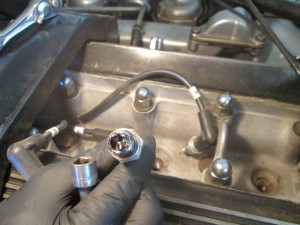
A spark plug needing replacement

A spark plug needing replacement

I asked Chris to bring in the series one XJ6 and run a compression test on it.  He never got that far. After working diligently to ease #2 sparkplug out of the engine (Jaguar 6 cylinder engines are numbered from back to front), we decided a compression test wasn’t really going to tell us anything we didn’t already know.   This will be a large repair

My guess is that a valve seat decided to see what life was like on the other side of the combustion chamber, and that

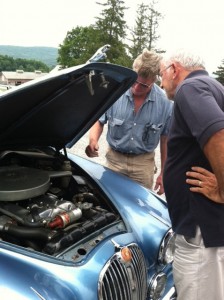
Jaguar Mk2 Sedan

A hand-off

produced a result quite similar to the kerfluffle which occurred a couple of weeks ago with the Elva Courrier engine.  Because all of their cylinder heads (and some 3 litre cylinder blocks), are aluminum, Jaguar always installed hardened valve seats.  Much of the time when we’re overhauling these engines the machine shop simply has to clean up the seats and install new valves to make the head perfectly suitable for unleaded fuels.  We have two E-type engine overhauls now on-going.

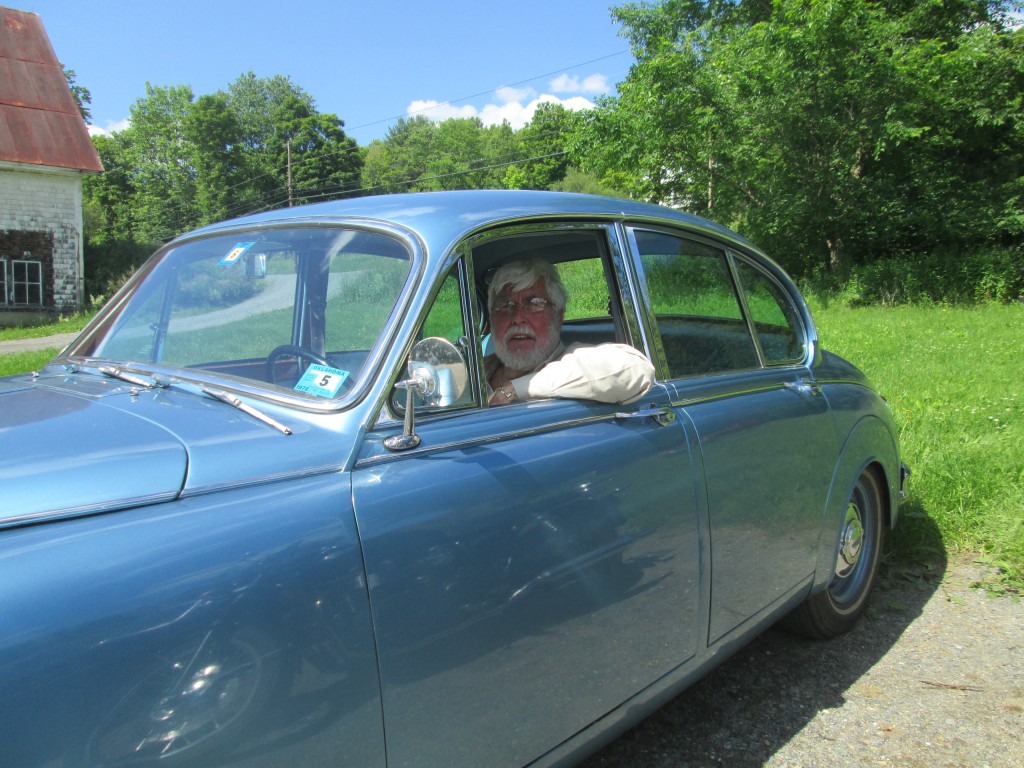
Earlier this week I handed over my 1967 3.4 litre Mk2 to Dave LaChance and asked him to put new tires on it (Vredesteins from Euro-Tire in New Jersey) and drive it for a month.

A supercharged MG TC

Ran when parked

Driving an MG TC is almost always a memorable experience. Sometimes the steering can be so bad that trying to best 40mph can feel like a potentially terminal event.  Other times, when everything is right, you can understand why MG’s were frequently the preferred ground transportation for RAF Spitfire pilots.  This car is a small repair.

Matching up new & old side exit exhausts

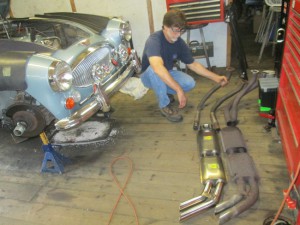
Chris Lundberg can be seen here matching up the new Stebro and the old Stebro side exit exhausts for this Austin Healey.  Stebro’s still making them in Canada, only now they’re made in stainless steel.  We pulled the front pipes out of our attic.  They’re used, but not very much

We’ll most likely have them on the car today, but these persistant rains
preclude a road test.   New England has been in an unusually wet weather pattern lately.  This is starting to impact our road test regimen, and our dispositions.

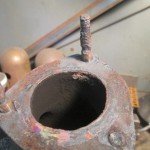
badly erroded manifold studs
The problem
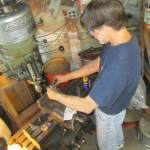
repairs on the Bridgeport

The solution

The Austin Healey exhaust manifold studs were very badly erroded.  Much of the time we are able to get them out by heating them with the oxy-acetelyne torch and using a stud puller, but sometimes they break anyway.  When this happens, it’s a job for the Bridgeport vertical mill because a drill bit won’t center on a broken stud.  Here’s Chris,  in action again doing his set up.  The Bridgeport is a tool he knows intimately, because in a former life he worked in a Precision Valley shop reconditioning screw machines, lathes & vertical mills.  Austin Healeys aren’t too daunting after that.

Blue Jaguar Mk2 Sedan

Why is this man smiling ?


Posted in This week at the shop | Comments Off on Repairs Large & Small