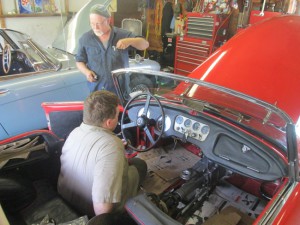
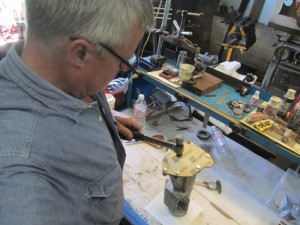
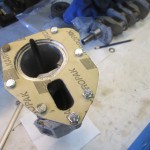
Sometimes we make mistakes, Wednesday was one of those days. Perhaps it was just an incomplete understanding of motion physics, but when we checked the operation of the Daimler SP 250 steering box, freshly rebuilt with TR3 components, we were amazed to see the wheels steered LEFT when the steering wheel was turned RIGHT, and visa-versa. While this effect might be entirely suitable for a Shriner’s Parade, it could be kinda’ dicey in traffic.
Upon more thorough examination, it was an obvious mistake that didn’t require a great deal of thought: We work pretty routinely with TR3’s & Austin Healeys in which the steering box, operating through the Pitman arm on the bottom of the ‘box, is behind the center line for the front axle. However on the SP 250 the steering box is behind the axle. Well My Stars ! Doesn’t that just make a difference ?
So, we put the old shaft back in the new ‘box and then we took turns pushing each other around in figure 8’s on the forecourt and pronounced it good enough for road testing. We will, of course. change the Daimler shaft out. Butch and I differ slightly on the technique, because I think we can just slide the shaft out of the steering box in the car.
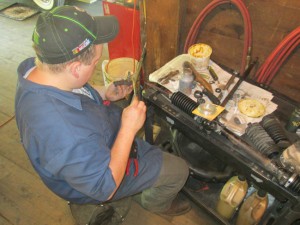
It was a day for steering gears. John is working with an early rubber bumper MGB which is a mechanically sound car with some minor fettling to take care of. One item on the punch-list was replacing the engine mounts, which on a rubber bumper MGB necessitates removal of the steering rack for access to the clamping nut on the bottom of the L/H mount.
Because the rack boots were torn and also needed replacement, there were some synergies to this approach.
In the picture above, John can be seen packing grease into the tie rod ends, which received a re-boot, too. Not seen here is that John also pulled off the oval shaped cover over the steering pinion and pumped six ounces of 90 weight gear oil into the rack to lubricate it. Rack boots also keep the lube in. Most MGB racks desperately need a refill now that the newest car is already about 35 years old.
The temperature had already climbed past 90 degrees and was still rising when I sent Chris off to run some Interstate highway miles in this late Austin Healey 3000 MkIII. The principal purpose of the test was to check the operation of the externally repaired overdrive, and to deliver a clutch to the machine shop for balancing. It was also a test of stamina for Chris, who can now tell you what it means to be a Healey Hot Foot.
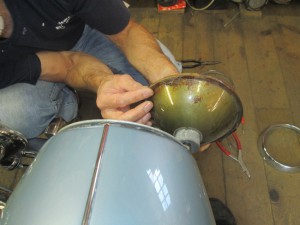
This car has what were known as Lucas semi-sealed beam lights. Time and moisture had taken a toll on the locating lugs on the right hand headlight unit, and Chris duly repaired it with a piece of bicycle inner tube.
On Monday I finished up the SP 250 gearbox. The Daimler unit is a slight variant of the familiar TR3 one of which was a second gear donor for the SP 250, those ratios being the same. However the Daimler maincase and tailcases are different, and while a TR3 TX gasket set had most of what we needed, I ended up making the tailcase gasket.
You can easily do this at home, too. Here’s how: #1 put the tailcase on a piece of gasket paper of appropriate thickness (see NAPA Auto Parts) and trace the outside.
#2 Using a good pair if scissors, cut out the gasket on the INSIDE of your line. #3 Mark the location of the bolt holes. Punch them out with the appropriate size punch. #4 Secure the gasket on the housing using the mounting bolts and lightly tap around any openings with the ball end of a ball peen hammer. This will break the fibers that hold the gasket material together and , Et Voila, there your are !

